A Step-by-Step Guide to Sprouting Edible Seeds
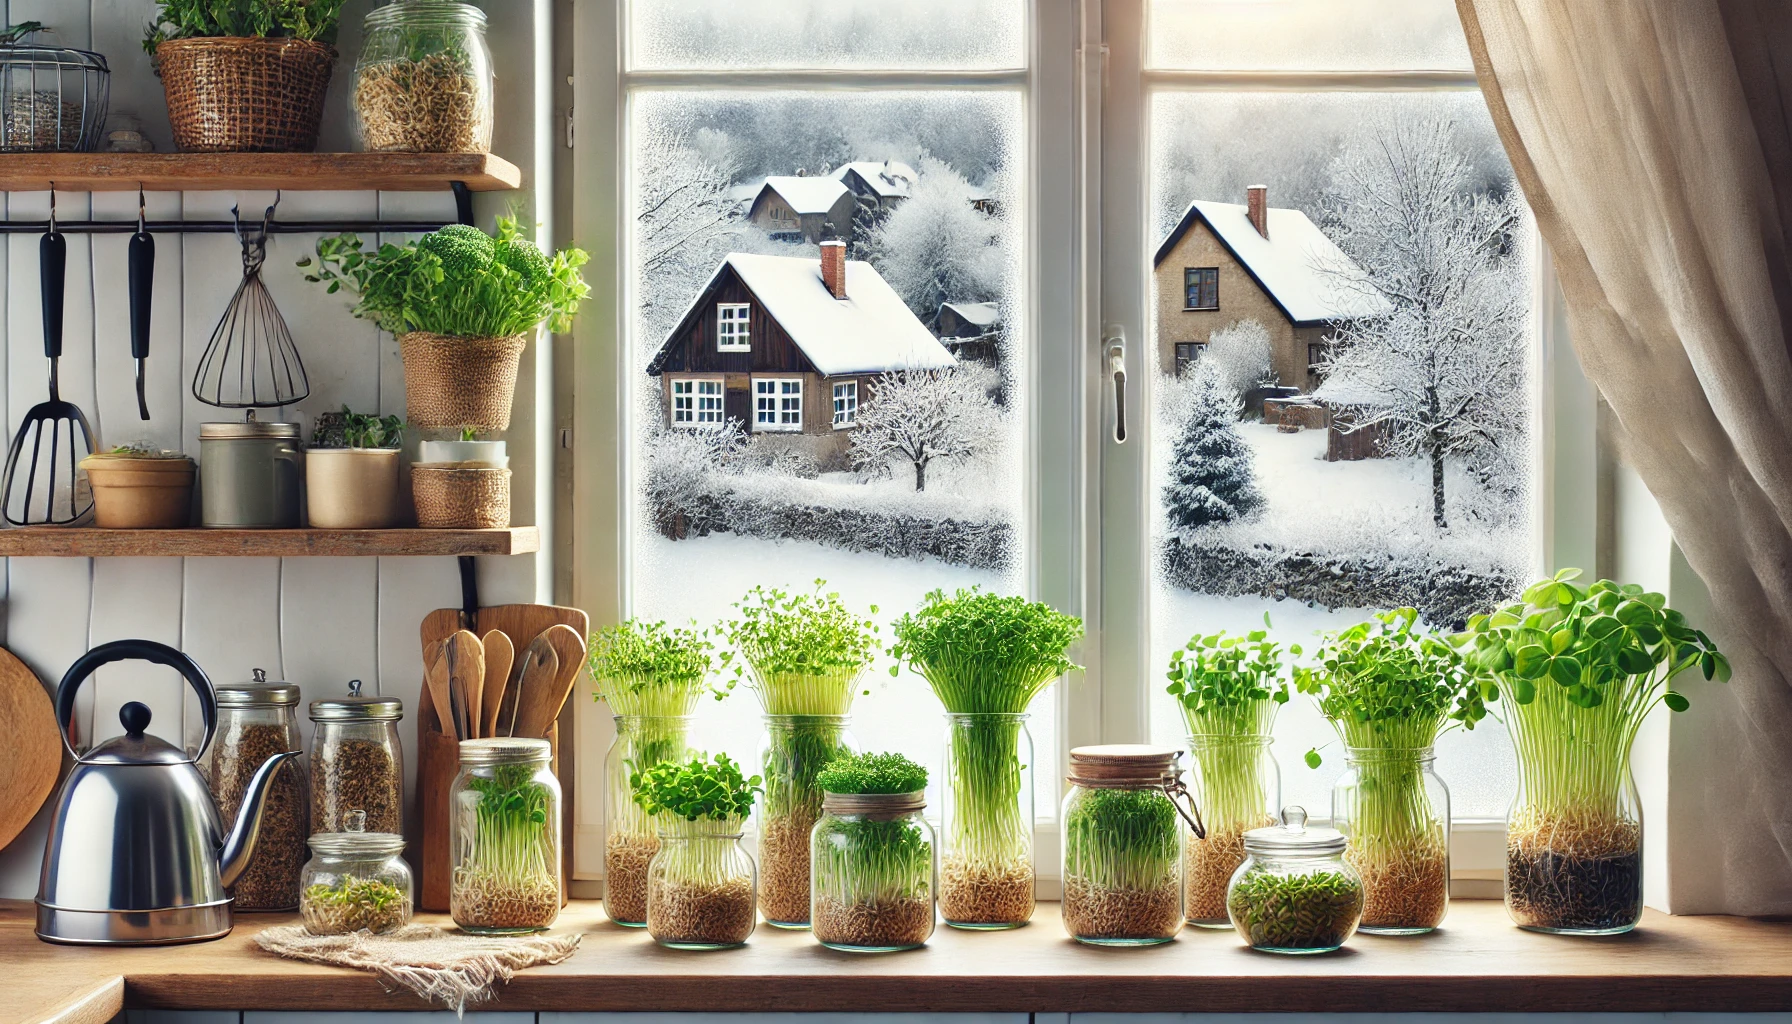
Growing sprouting seeds at home is a cost-effective, simple, and rewarding way to enjoy fresh greens and nutrients right from your kitchen windowsill.
Start Small, Grow Big – Your Journey to Homegrown Freshness
Imagine having a constant supply of fresh, nutrient-packed greens, vegetables, and even fruits, all grown right at home.
Whether you’re a gardening novice or a seasoned plant enthusiast, starting with sprouting seeds is the perfect way to kick off a rewarding journey into homegrown abundance.
Sprouts are quick, easy, and affordable to grow, requiring minimal space and effort. With just a small corner of your kitchen windowsill, you can begin cultivating your own fresh greens in days.


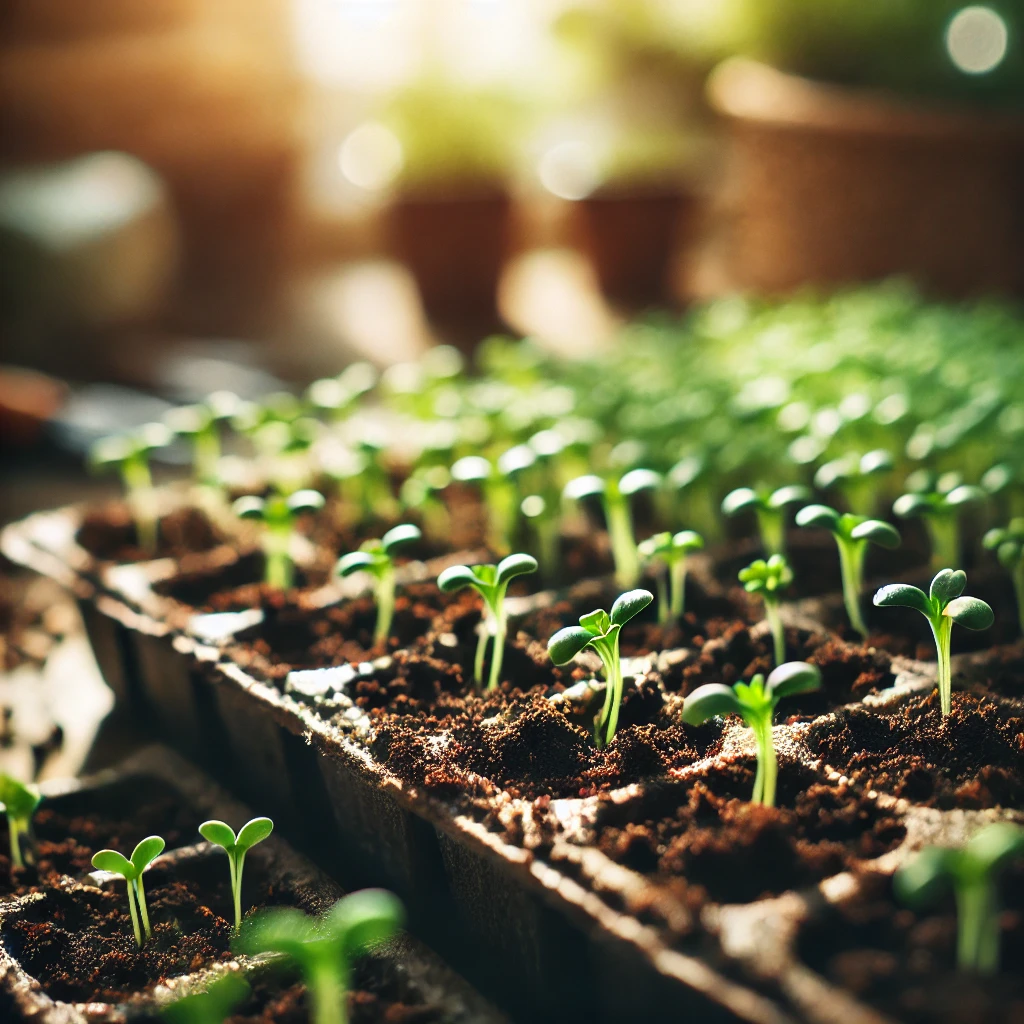
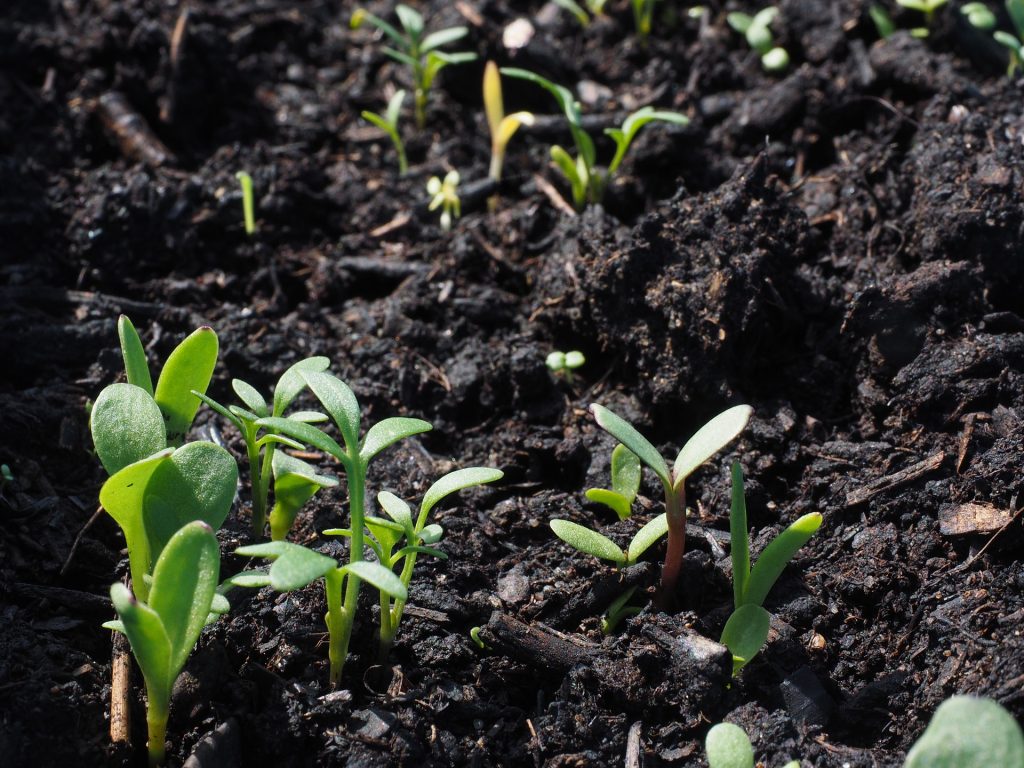
But why stop at sprouts? As you gain confidence, you can graduate to seedlings and grow thriving plants that yield leafy micro-greens, vibrant vegetables, aromatic herbs, and even sweet, edible fruits.
From crunchy radishes to luscious tomatoes, crisp lettuce, and hearty carrots, the possibilities are endless.
This guide will walk you through the process of sprouting seeds and help you build momentum to expand into container gardening and beyond.
By embracing this simple and sustainable lifestyle, you’ll not only enjoy fresher, healthier food but also connect with nature in a deeply satisfying way—all from the comfort of your home.
Let’s start small, dream big, and cultivate the joy of growing your own food!

Here’s a professional, step-by-step guide to get you started:
Step 1: Choose Your Seeds
Select High-Quality Seeds: Purchase seeds labeled specifically for sprouting or micro-greens, as these are untreated and safe to eat.
Seeds that are perfect for growing as microgreens or sprouting:
Vegetables
Radish – Fast-growing with a spicy flavor.
Broccoli – Packed with nutrients and a mild flavor.
Cabbage – Sweet and crisp, perfect for salads.
Kale – Rich in vitamins and slightly earthy in taste.
Cauliflower – A subtle, slightly nutty flavor.
Beet – Vibrant color with a sweet, earthy flavor.
Herbs
Cilantro – Bold, citrusy flavor.
Basil – Adds an aromatic and sweet touch.
Dill – Light, tangy, and herbaceous flavor.
Legumes
Peas – Sweet, tender shoots.
Lentils – Nutty and versatile for sprouting.
Chickpeas (Garbanzo) – Creamy texture with a mild taste.
Grains
Wheatgrass – Sweet and refreshing, great for juicing.
Oats – Mild, grassy flavor with excellent health benefits.
Barley – Slightly sweet and chewy sprouts.
Seeds
Sunflower – Nutty and crunchy; a microgreen favorite.
Mustard – Peppery and bold, adds spice to dishes.
Fenugreek – Slightly bitter, great for adding depth to salads.
Amaranth – Vibrant and tender, with a mild flavor.
Alfalfa – Light, crunchy, and perfect for sandwiches.
These seeds are easy to grow, whether as tiny microgreens or full sprouts, and offer a variety of flavors, textures, and nutritional benefits.
Start Small: Before expanding your selection, experiment with one or two varieties to understand their growth patterns and taste.


Step 2: Gather Supplies
You’ll need:
A wide-mouth glass jar or a dedicated sprouting tray.
A mesh sprouting lid or cheesecloth with a rubber band for the jar.
Fresh water (ideally filtered or distilled).
A drain tray or plate (if using a jar).
Place in a warm, well-lit area, like a kitchen windowsill that gets indirect sunlight.
Step 3: Prepare the Seeds
Measure Seeds: Use about 1–2 tablespoons of seeds for a quart-sized jar. Overcrowding leads to poor air circulation and mold.
Rinse Seeds: Place seeds in the jar and rinse thoroughly with cool water to remove dust and debris.
Soak Seeds: Add enough water to cover the seeds by 1–2 inches. Let them soak overnight (6–8 hours). This softens the seeds and kickstarts germination.
Step 4: Rinse and Drain Daily
Rinse: Drain the soaking water, rinse the seeds thoroughly, and drain again. Always use fresh, cool water for rinsing.
Drain Properly: Tilt the jar upside down at an angle (using a dish rack or propped plate) to ensure all excess water drains out. This prevents mold and encourages healthy sprouting.
Repeat Twice Daily: Rinse and drain the seeds twice daily, morning and evening. This keeps them moist but not waterlogged.
Step 5: Provide Optimal Conditions
Light: Place the jar in indirect sunlight or on a well-lit windowsill. Avoid direct sunlight, which can dry out or overheat the seeds.
Temperature: Keep the environment between 60–75°F (16–24°C) for optimal growth.
Step 6: Monitor Growth
Check Daily: Look for signs of sprouting. Most seeds germinate within 2–5 days, depending on the variety.
Prevent Mold: Ensure proper drainage and good air circulation. If you notice any off smells or discoloration, discard the batch.


Step 7: Harvest
1. When to Harvest: Once sprouts have grown to your desired length (usually 1–3 inches, depending on the seed type), they’re ready to eat.
2. Final Rinse: Give the sprouts one last thorough rinse and pat dry with a clean towel or paper towel.
Step 8: Store Sprouts
1. Refrigeration: Place the dry sprouts in a sealed container or reusable bag with a paper towel to absorb moisture. Store in the refrigerator for up to a week.
2. Avoid Wet Storage: Moisture accelerates spoilage, so keep them as dry as possible.
Cost-Saving Tips
Reuse Supplies: Invest in durable sprouting jars or trays for repeated use.
Bulk Seeds: Purchase seeds in bulk for cost savings.
DIY Lid: Make a sprouting lid using fine mesh or an old nylon stocking.
By following these steps, you’ll enjoy fresh, nutrient-rich sprouts in just a few days. They’re perfect for salads, sandwiches, or as a garnish to enhance any meal.
Plus, sprouting is a sustainable and fun way to kick-start your spring growing season!
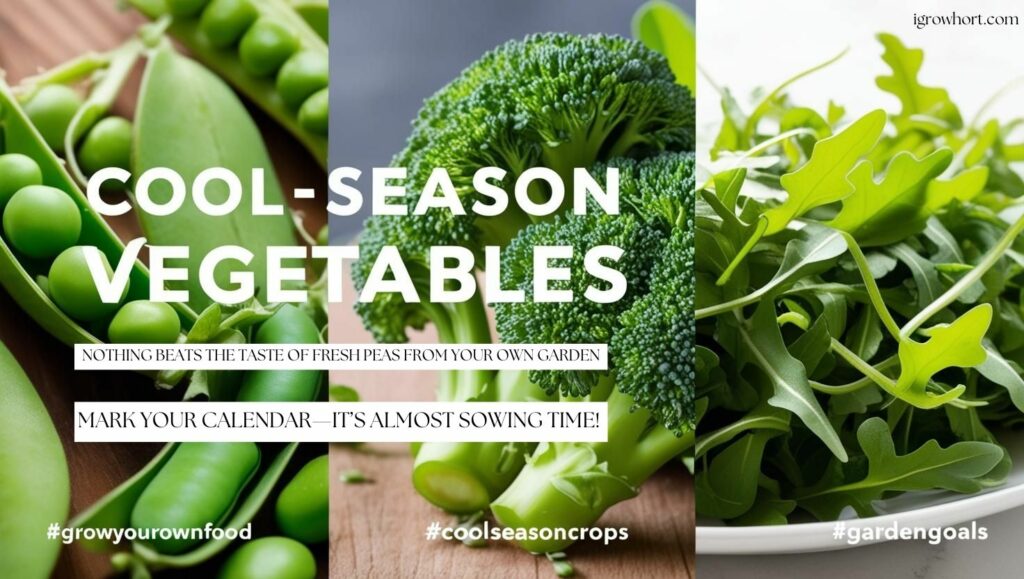
Next, we are talking Cool Season Vegetables Subscribe and Follow this Growing Journey!


